Stage scan
A stage scan gives the user a realtime
overview (without the need of moving the joystick). A rough overview
map of the sample within the defined ROI is produced. This can be saved
or used as a navigation aid. The camera will be put into a short-exposure
fast imaging mode for the scan, you can adjust the gain before the start
of the scan if images turn out too light or dark (in a trial and error
fashion).
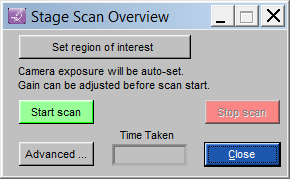
Set region of interest
- Use this button and follow the steps to define a ROI. There
is no need to define the focal plane for this rough overview scan.
Start scan
- Starts the scan by first setting up the camera for stage
scan (i.e. low exposure time and maximum binning) and then visiting the 4
corners of the scan. The scan then proceeds in a raster fashion
Stop scan - Stops the
scan.
Advanced - Opens up
the Stage Scan dialog box as shown below.
Close - Closes
this dialog box.
ADVANCED
USERS ONLY
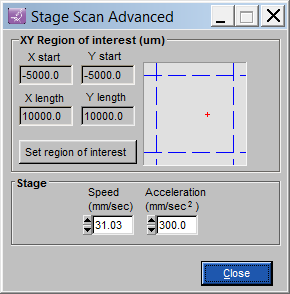
Speed - If the stage is
too slow or fast for the camera acquisition rate, the speed can be changed here
before a scan is started. If the mosaic has vertical line/gaps between images,
slow down the stage